What you need
Here are the tools you will need to create a UniFi Controller with a Raspberry Pi:
- 1 Raspberry Pi (2 or 3)
- 1 Micro SD (8GB minimum)
- Raspbian – The Debian Distro for Raspberry Pi
- Rufus or WinDisk32Imager
- PuTTY – For using SSH to log in and configure your Raspberry
First, download the Rasbian Image – I’m choosing the “LITE” version since I won’t need to login to a UI as it is solely going to be a UniFi controller.
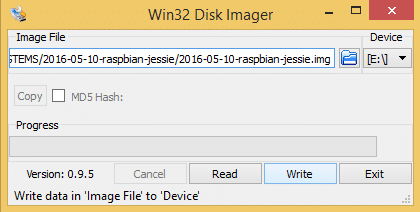
After you download the image, put the image on your MicroSD card with Rufus or WinDisk32Imager:
After that, create a file on the root of your MicroSD card called “ssh” without any extensions. This will allow you to SSH into your device and do a headless setup. No need to break out the HDMI cable, keyboard, and mouse.
After you connect your Raspberry Pi to your network, find the IP address of your Raspberry Pi with an IP Scanner, like Advanced IP scanner.
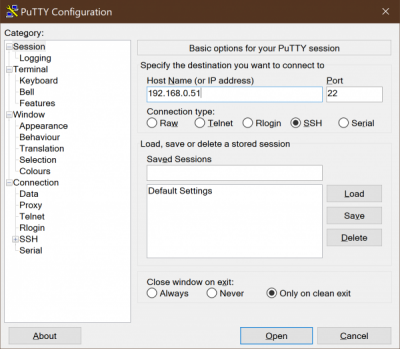
Then, using Putty, enter the IP address of the Raspberry and login.
The default username is “pi” and the password is “raspberry”
Now, I recommend setting your IP of your Raspberry Pi static. To do it, edit the file /etc/dhcpcd.conf as follows:
Type this at the command prompt:
sudo nano /etc/dhcpcd.conf
and then scroll to the bottom of the script and add the following lines:
interface eth0

static ip_address=192.168.0.99/24
static routers=192.168.0.1
static domain_name_servers=192.168.0.1
This is my configuration, set yours. Choose the interface: eth0 for ethernet, wlan0 for Wi-Fi and change the values with those right for your network.
Install the software controller
Now let’s update and upgrade! This will refresh the repositories and upgrade your install:
sudo apt-get update && sudo apt-get upgrade
echo "deb http://ppa.launchpad.net/webupd8team/java/ubuntu trusty main" | sudo tee /etc/apt/sources.list.d/webupd8team-java.list
echo "deb-src http://ppa.launchpad.net/webupd8team/java/ubuntu trusty main" | sudo tee -a /etc/apt/sources.list.d/webupd8team-java.list
sudo apt-key adv --keyserver hkp://keyserver.ubuntu.com:80 --recv-keys EEA14886
sudo apt-get update
sudo apt-get install oracle-java8-installer
Press OK followed by YES when prompted.
Next we finally get to install UniFi.
echo 'deb http://www.ubnt.com/downloads/unifi/debian stable ubiquiti' | sudo tee /etc/apt/sources.list.d/100-ubnt-unifi.list
sudo apt-key adv --keyserver keyserver.ubuntu.com --recv 06E85760C0A52C50
You can copy and paste that link to avoid typos. Finally, install UniFi by running the following commands:
sudo apt-get update
sudo apt-get install unifi
This will take a couple of minutes to complete, but once it has finished, UniFi is installed!
Finally, to speed up UniFi a bit, it is recommended to install a package called haveged. Install it with this command:
sudo apt-get install haveged
That’s it! You can now log in to your controller using that IP address for your Raspberry Pi.
Now all you need to do is to connect to the Controller via browser:
https://yourRaspberryIPaddress:8443
For instance, if your IP address is 111.222.333.444, you’ll type:
https://111.222.333.444:8443
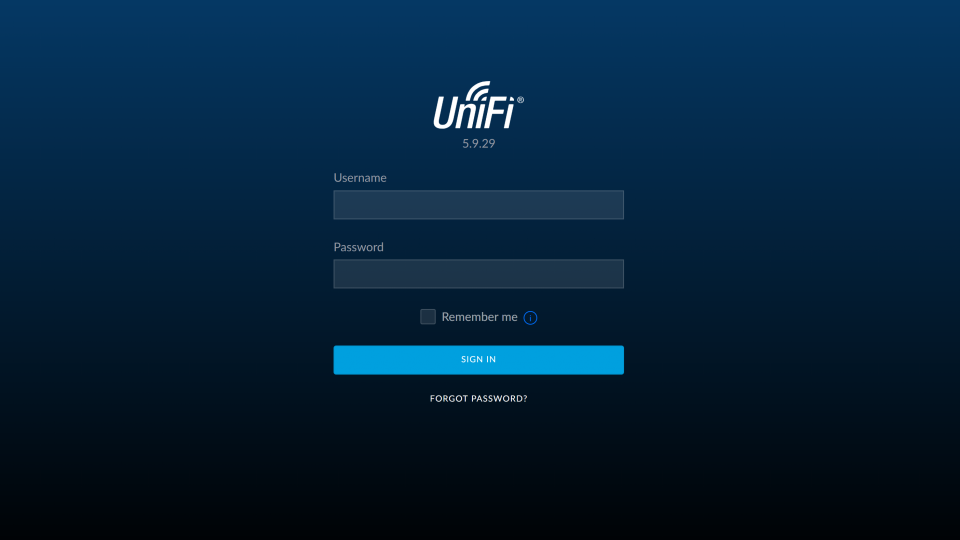
You need to sign up and set up the controller, then this will be the login page.

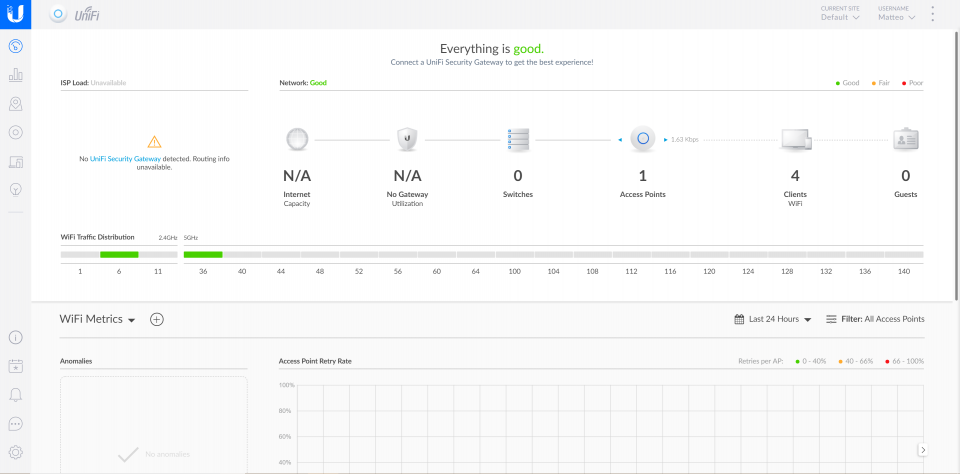
After logging in it will be like this:

This is the 5.9.29 version of the UniFi Controller.
You can also connect up your smart phone and use the UniFi SDN app – it works great!
Congratulations! You now have a hosted UniFi Controller.
Check out how to enable UniFi cloud access!
You can now manage your entire UniFi network with the controller. Pretty awesome, right?

